The wax batch workflow turns your drawing, reference photo or AI-generated design into multiple identical silver pieces in 7 steps: our artisans hand-carve a wax master, we make a silicone mold, inject wax copies and cast them in silver. Choose this route when you want production quantities of a hand-carved design. Only need one sample first? See the wax prototype workflow or compare all workflows.
The steps of the Wax Batch Workflow
Step 1
Visual Concept
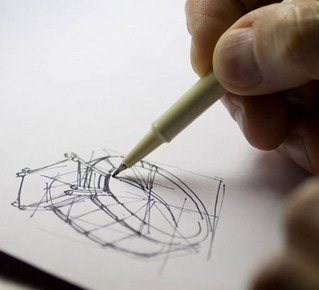
Send us a drawing, reference photo or AI-generated design. This is the starting point for your custom piece.
Step 2
Wax Carving

Our artisans hand-carve a detailed wax model of your design from a block of carving wax. This wax master is the model we use to make your silicone mold.
Step 3
Mold Making
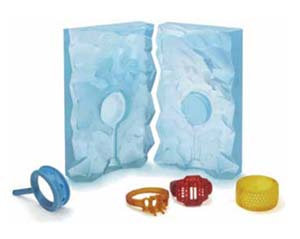
We pour liquid silicone rubber around your master model to make a mold. Silicone molds last long, have 0% shrinkage and handle high-temperature injection wax.
Step 4
Wax Injection
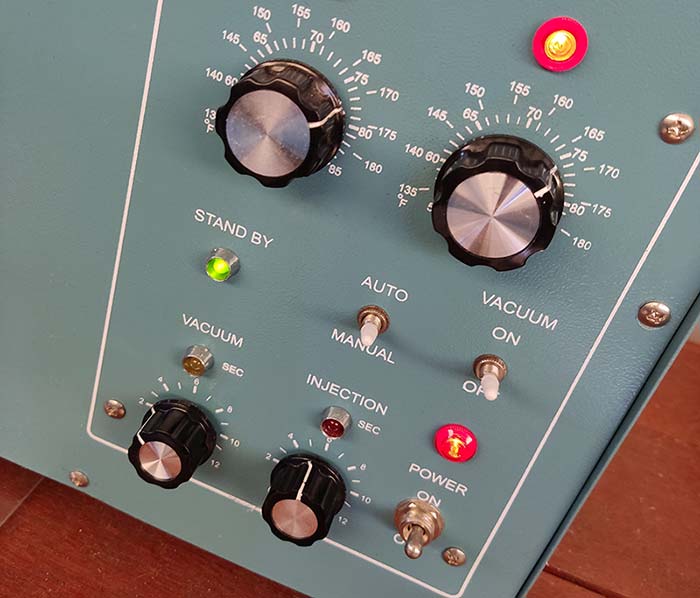
We inject wax into the silicone mold with a pressurized vacuum wax injector to preserve fine details. After cooling, the wax copies are checked and joined into a wax tree.
Step 5
Casting
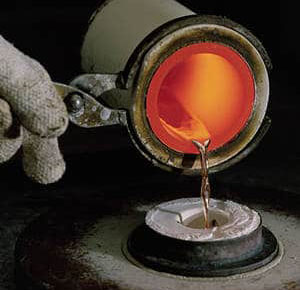
After the burn-out cycle, we vacuum cast the wax tree in silver using a digital furnace for optimal temperature and results. One wax tree gives you multiple identical pieces.
Step 6
Finishing

We clean each piece with a magnetic tumbler, ultrasonic machine, pickling, sanding and polishing. Oxidation, plating or a hammered finish can be applied here.
Step 7
Laser Engraving (optional)
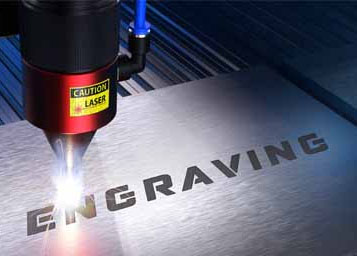
Optional laser engraving adds custom hallmarks, logos or fine graphic detail to your pieces with ultra-sharp precision.
Start your wax batch production
Ready to produce your hand-carved design in larger quantities? Send us your drawing, reference photo or AI-generated design via the contact page and tell us how many pieces you need. You can read more about our custom design services first.