The wax prototype workflow turns your drawing, reference photo or AI-generated design into a single sample piece in only 5 steps: our artisans hand-carve a wax master and we cast it in silver. Choose this route for organic, fluid or traditional designs where hand-carved detail matters. Need multiple identical pieces instead? See the wax batch workflow or compare all workflows.
The steps of the Wax Prototype Workflow
Step 1
Visual Concept
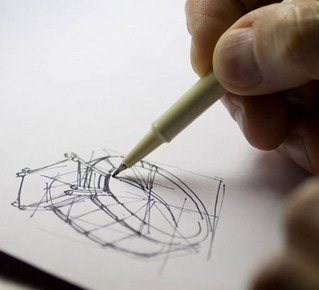
Send us a drawing, reference photo or AI-generated design. This is the starting point for your custom piece.
Step 2
Wax Carving

Our artisans hand-carve a detailed wax model of your design from a block of carving wax. It is filed and sanded smooth into an exact wax master.
Step 3
Casting
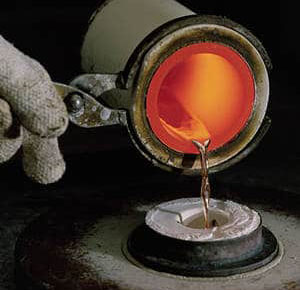
We cast your wax master in 925 silver using the lost-wax technique. After the burn-out cycle, vacuum casting in a digital furnace gives you one unique sample piece.
Step 4
Finishing

We clean the piece with a magnetic tumbler, ultrasonic machine, pickling, sanding and polishing. Oxidation, plating or a hammered finish can be applied here.
Step 5
Laser Engraving (optional)
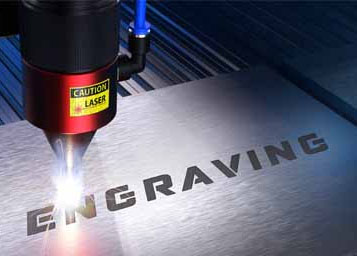
Optional laser engraving of the master object. The deep marking also makes it possible to create a mold later if required.
Start your wax prototype
Ready to turn your design into a hand-carved silver prototype? Send us your drawing, reference photo or AI-generated design via the contact page and tell us what you need. You can read more about our custom design services first.