Here you can quickly and easily check the workflow processes we follow to produce custom design silver jewelry.
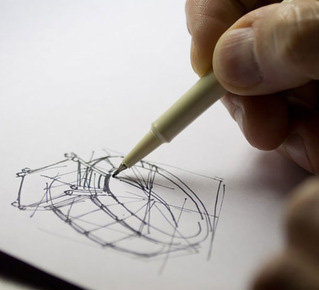
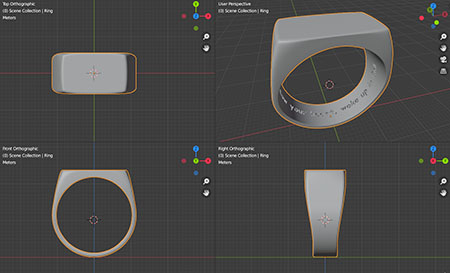
- 3D is based on a computer generated model, most suitable for highly detailed designs.
- Wax is based on a handcarved wax model, very suitable for organic designs.
- Master is suitable for a prototype or sample model (one piece per design).
- Production is suitable for higher quantities (multiple identical pieces of the same design).
Click on a button below to compare the differences between the various workflows and production steps.


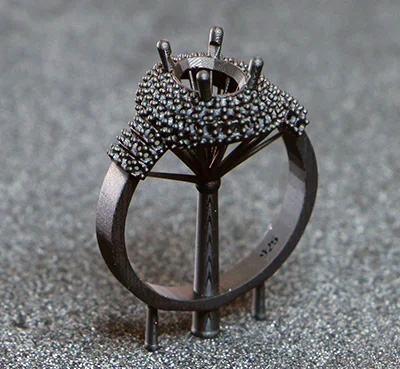

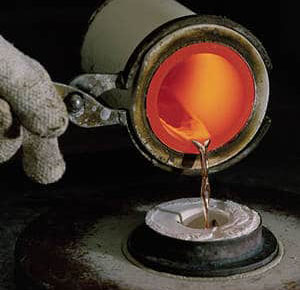
After the burn-out cycle, we’ll vacuum cast the silver model using a digital furnace for optimal temperature and results.

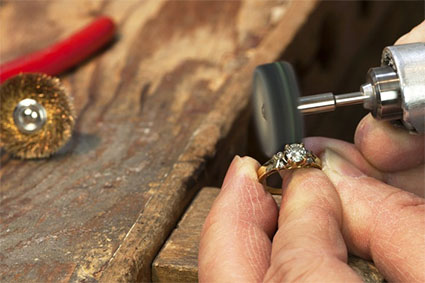
The final touches for your design. We’ll clean the design using a magnetic tumbler, ultrasonic machine, pickling, sanding and polishing. At this step we can also apply oxidation, plating or give the piece a hammered finish.

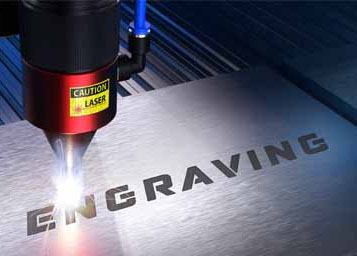
Laser engraving of the master object. The deep marking makes it possible to create a mold if required.
If you still have any question about the process steps or want to know more about the pros and cons of the different workflows, please don’t hesitate to contact us.